This topic will show you how to publish an R App with Shiny in Domino,
In this tutorial you will:
-
Create a project and set it up for App publishing
-
Publish a simple two file Shiny App to the Domino Launchpad
-
Observe how other users in Domino can use the App
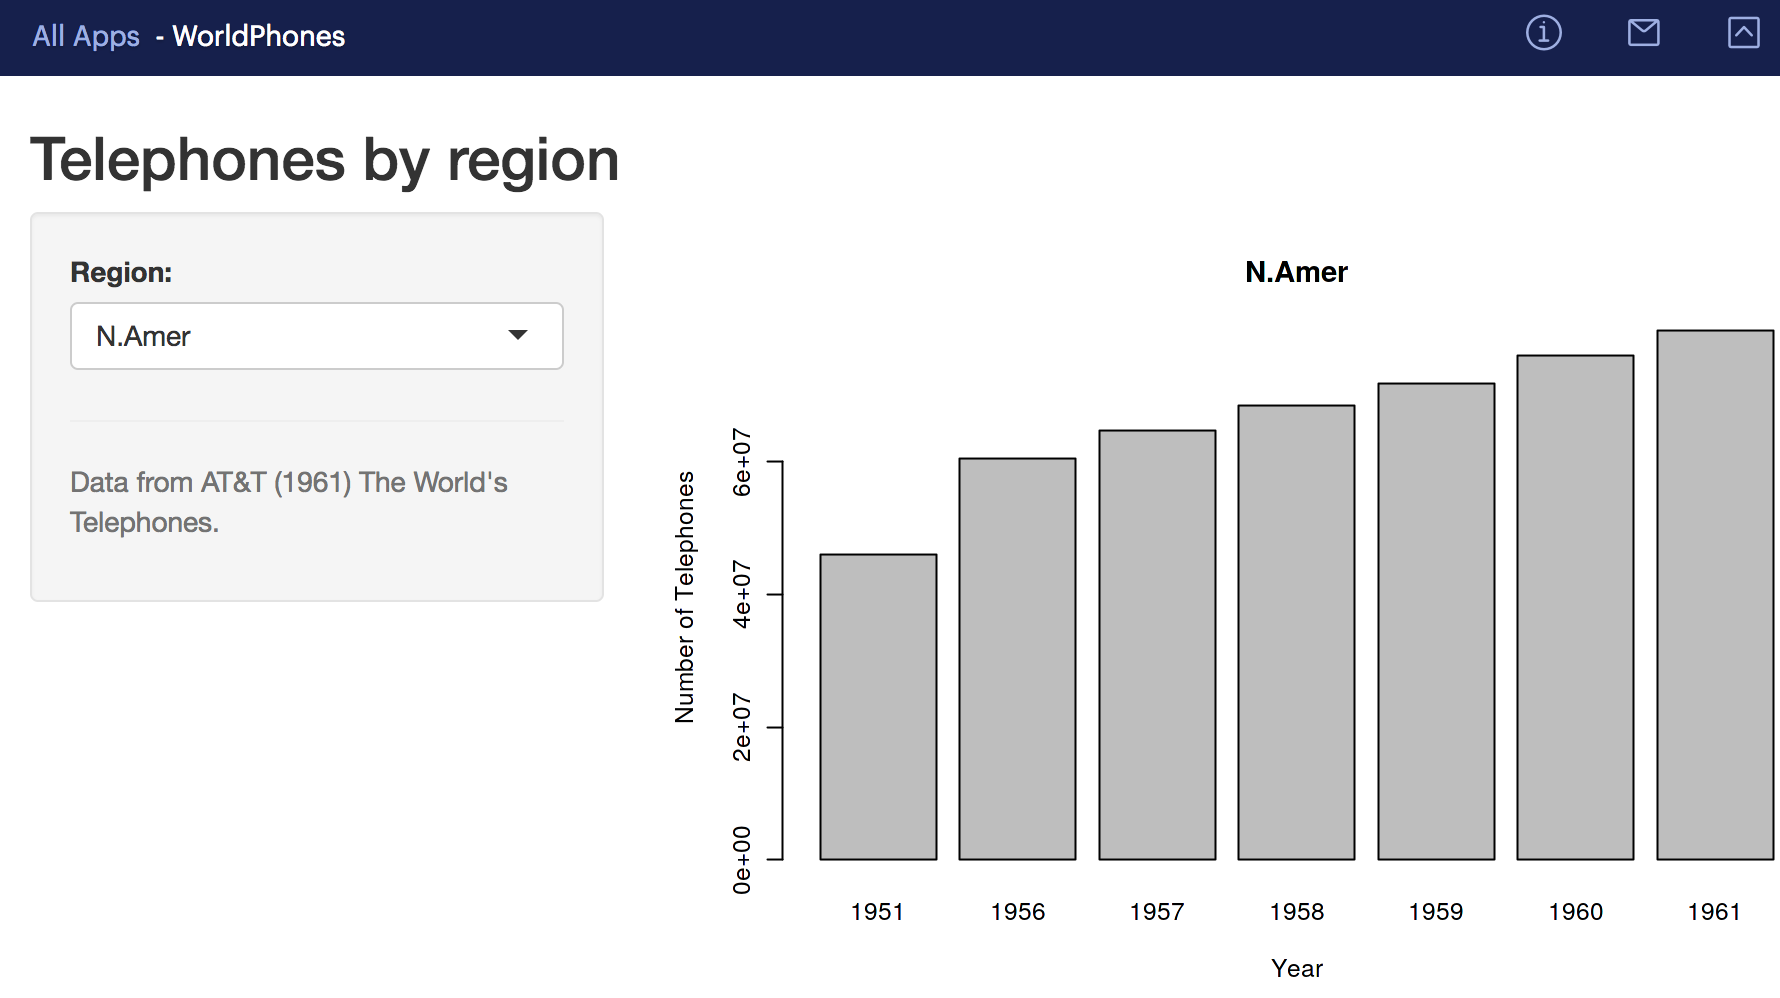
You’ll be working with the Telephones by region example from the Shiny gallery. In this example, the application serves an interactive bar chart of consumer telephones by region from 1951 to 1961.
It will take approximately 10 minutes to get this example running in Domino.
The first step is creating a project with the settings and content you need to publish your App.
-
From the Lab, click Projects.
-
Click New Project.
-
Give your project an informative name, choose the Private visibility setting, then click Create Project.
-
Click Settings in the project sidebar, then set the Compute environment to Domino Standard Environment Py3.8 R4.1. Read Domino standard environments, to learn more about the contents of this base image.
-
Click Files in the project sidebar, then click Add File.
-
Name the file
server.Rin the title field above the editor. It’s important that the file be named exactly this, as launching a two file Shiny application requires a directory to contain files namedserver.Randui.R. -
In the body of the file, paste the following example Shiny server code.
# Rely on the 'WorldPhones' dataset in the datasets # package (which generally comes preloaded). library(datasets) # Define a server for the Shiny app function(input, output) { # Fill in the spot we created for a plot output$phonePlot <- renderPlot({ # Render a barplot barplot(WorldPhones[,input$region]*1000, main=input$region, ylab="Number of Telephones", xlab="Year") }) } -
Click Save when finished.
-
Click Add File again, and name the new file
ui.R. -
Paste in the following content, then click Save when finished.
# Rely on the 'WorldPhones' dataset in the datasets # package (which generally comes preloaded). library(datasets) # Use a fluid Bootstrap layout fluidPage( # Give the page a title titlePanel("Telephones by region"), # Generate a row with a sidebar sidebarLayout( # Define the sidebar with one input sidebarPanel( selectInput("region", "Region:", choices=colnames(WorldPhones)), hr(), helpText("Data from AT&T (1961) The World's Telephones.") ), # Create a spot for the barplot mainPanel( plotOutput("phonePlot") ) ) ) -
The last thing to do before publishing your App is to create an
app.shfile. This is a Bash script that Domino runs after initializing the host that will serve your App. It should contain all commands required to launch your App. In this example, the only command you need is:R -e 'shiny::runApp("./", port=8888, host="0.0.0.0")'Make note of two important parameters in this command. Apps in Domino must run with a host of
0.0.0.0on port8888. This is where Domino will direct users to your application. Create theapp.shfile the same way you did forserver.Randui.R, then save it.
The app.sh file
When you publish an app, Domino looks for an app.sh file in your project to find the launch instructions. Aside from the app.sh file, Domino’s app development process mirrors standard development so your apps are portable and can be deployed elsewhere. Just include your app’s files in your Domino project.
When Domino launches your app, it runs the app.sh file within the container that contains your project files. The app.sh file must contain the commands to start the web hosting process.
|
Note
|
Domino requires this configuration for app service: 0.0.0.0 on port 8888.
If your hosting network uses a different default, specify that default in your app.sh file or some alternate configuration.
|
For a Shiny app, this is the simplest form for your app.sh file:
R -e 'shiny::runApp("./", port=8888, host="0.0.0.0")'-
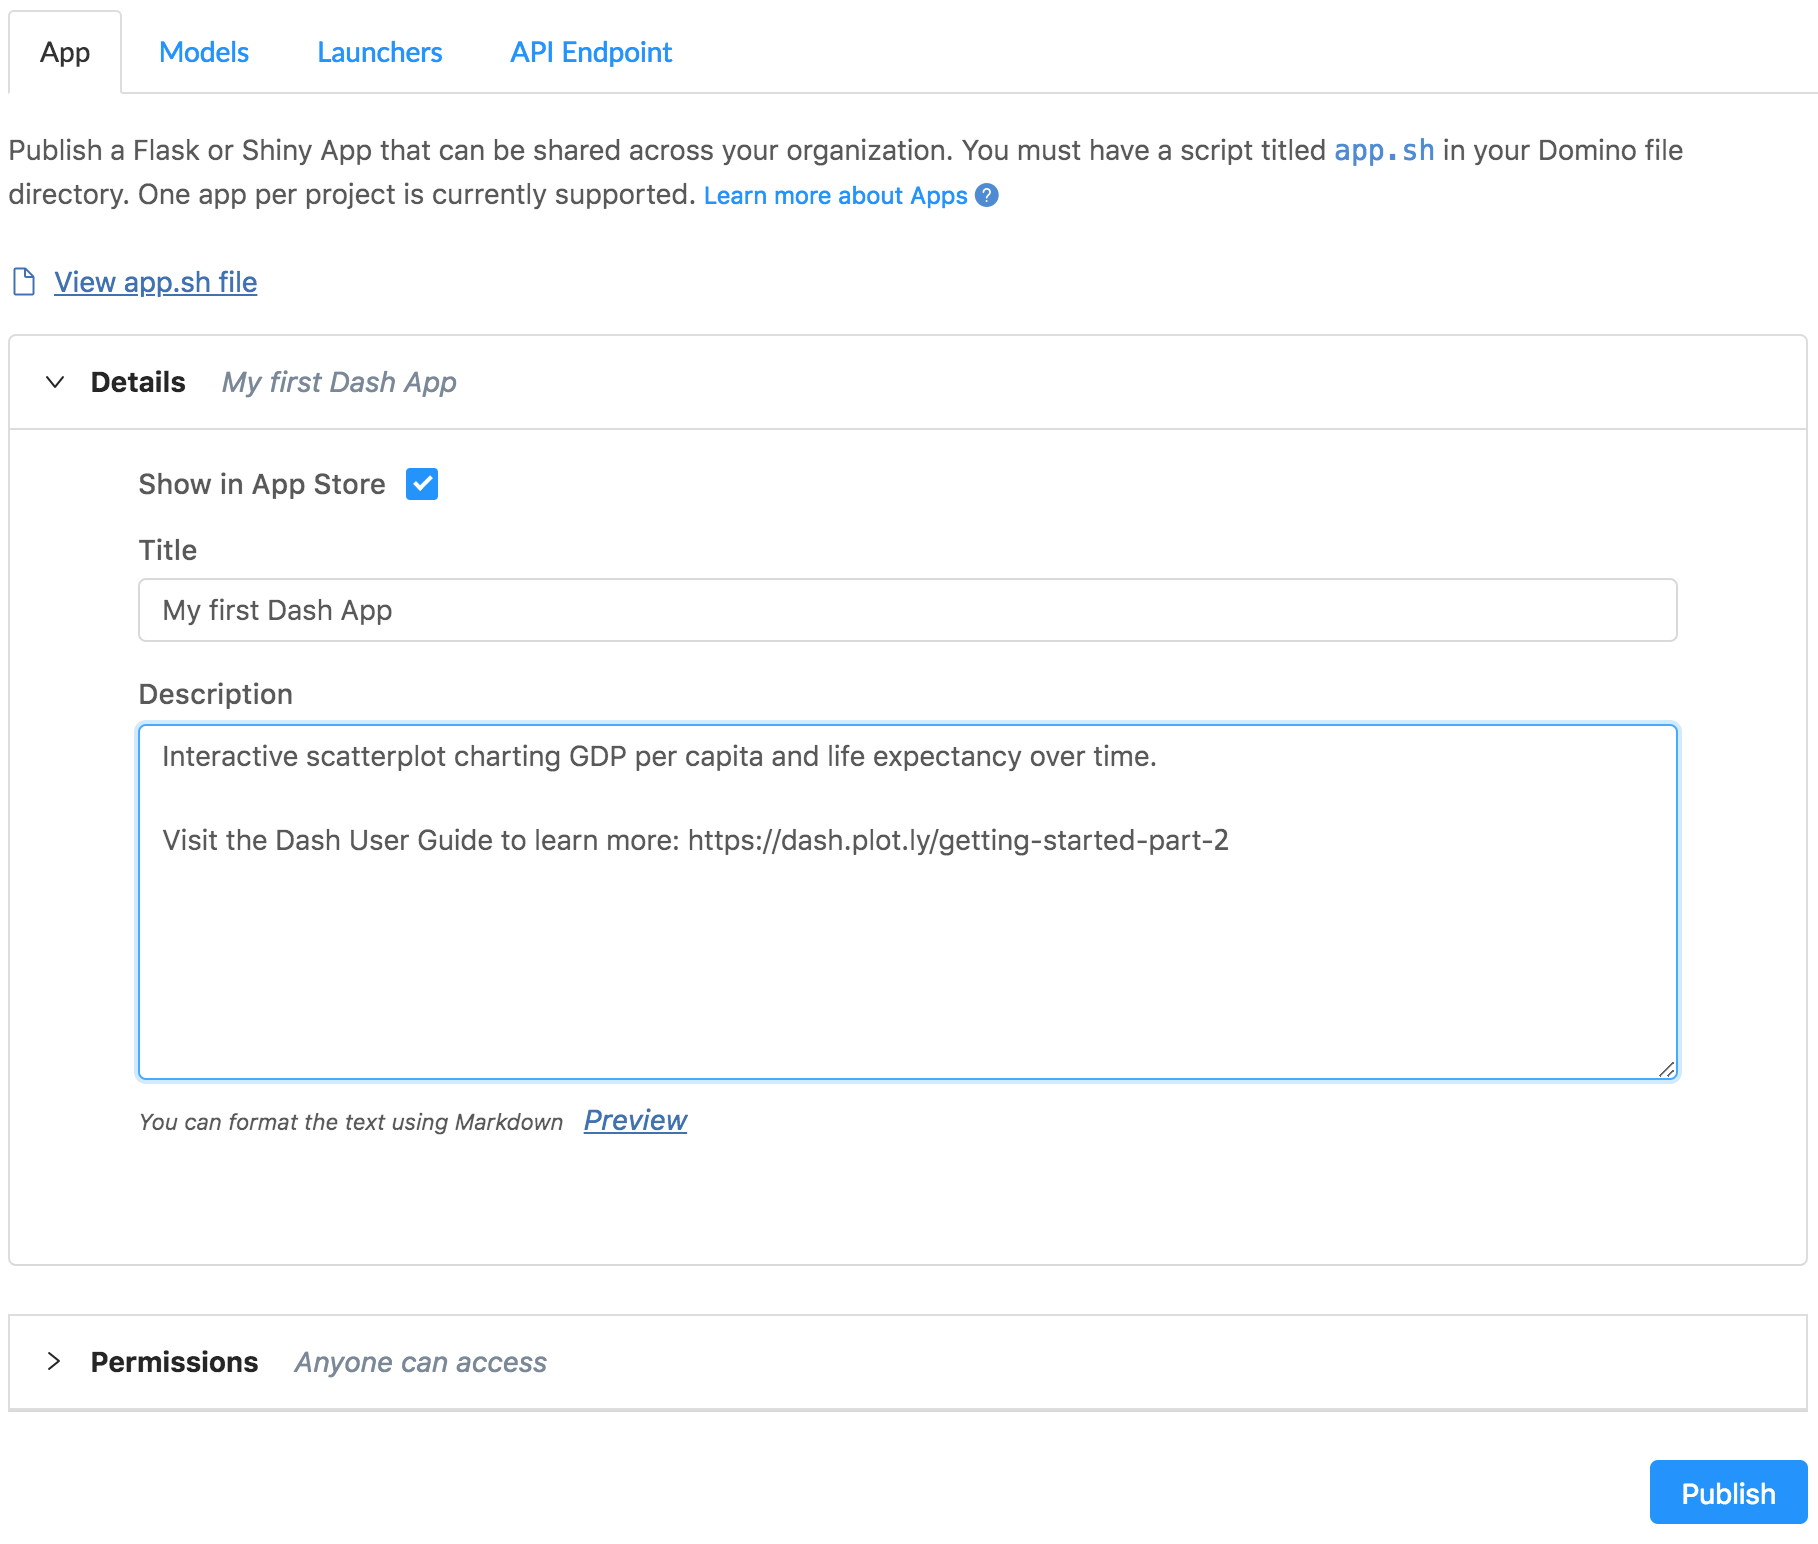
Click Publish from the project sidebar.
-
Give your App an informative title and description, and set Permissions to Anyone can access. This will allow anyone with a network connection to your Domino deployment to access the App if they have the URL.
-
Click Publish.
-
After the App status says "Running", click View App to load your App. You should see the interactive bar chart with a Domino toolbar above it showing the project it’s published from, plus buttons to email the App owner and open the description panel.
Now, you can set the permissions on your app to Anyone can access to share it with colleagues who have access to your instance of Domino. You can try this out yourself by opening a private or incognito browser, or logging out of Domino, and going to App > Copy App Link.
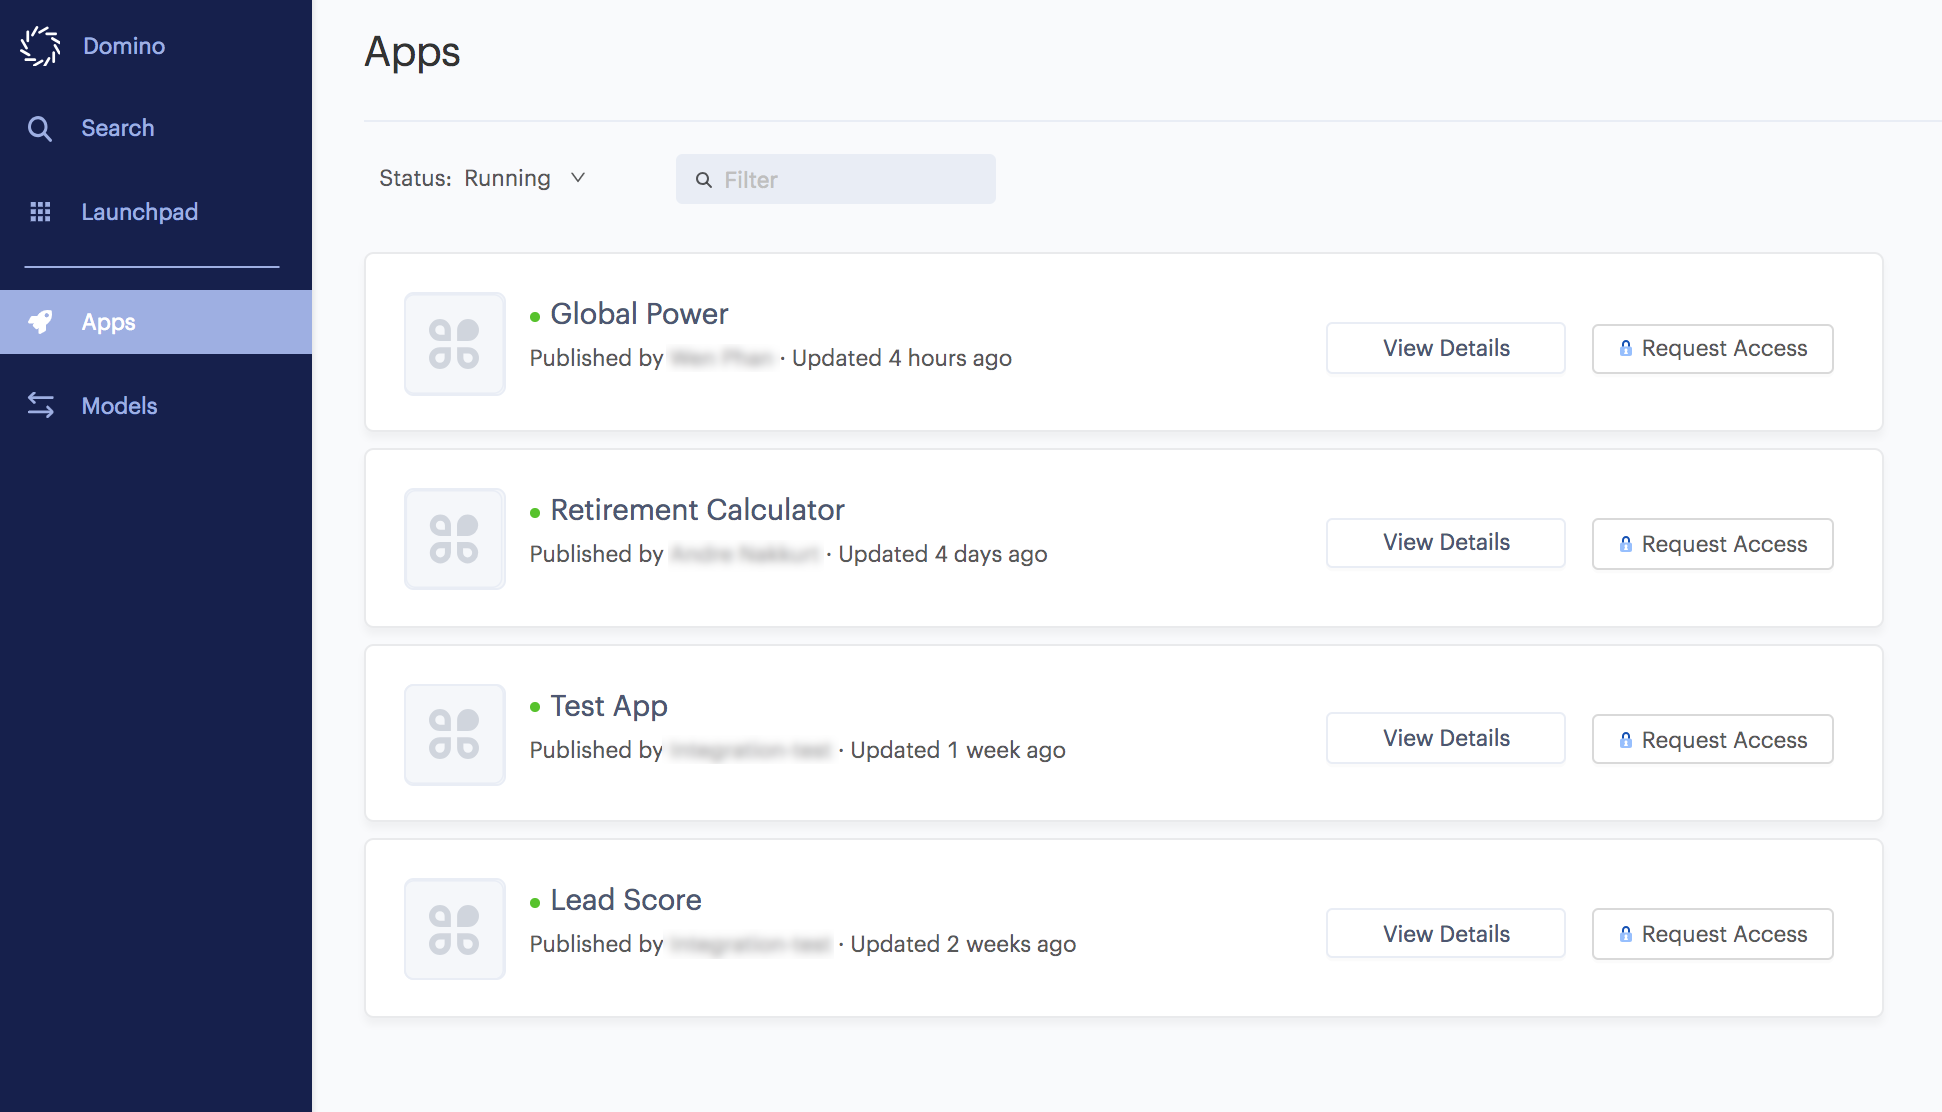
To browse more apps, go to the Launchpad in Domino UI. Here you can see all apps with Show in Launchpad enabled.