If you want to use Git workflows such as creating branches, committing code, and pushing or pulling changes in a workspace, you must use Git-based projects or imported Git repositories.
To use Git, you can:
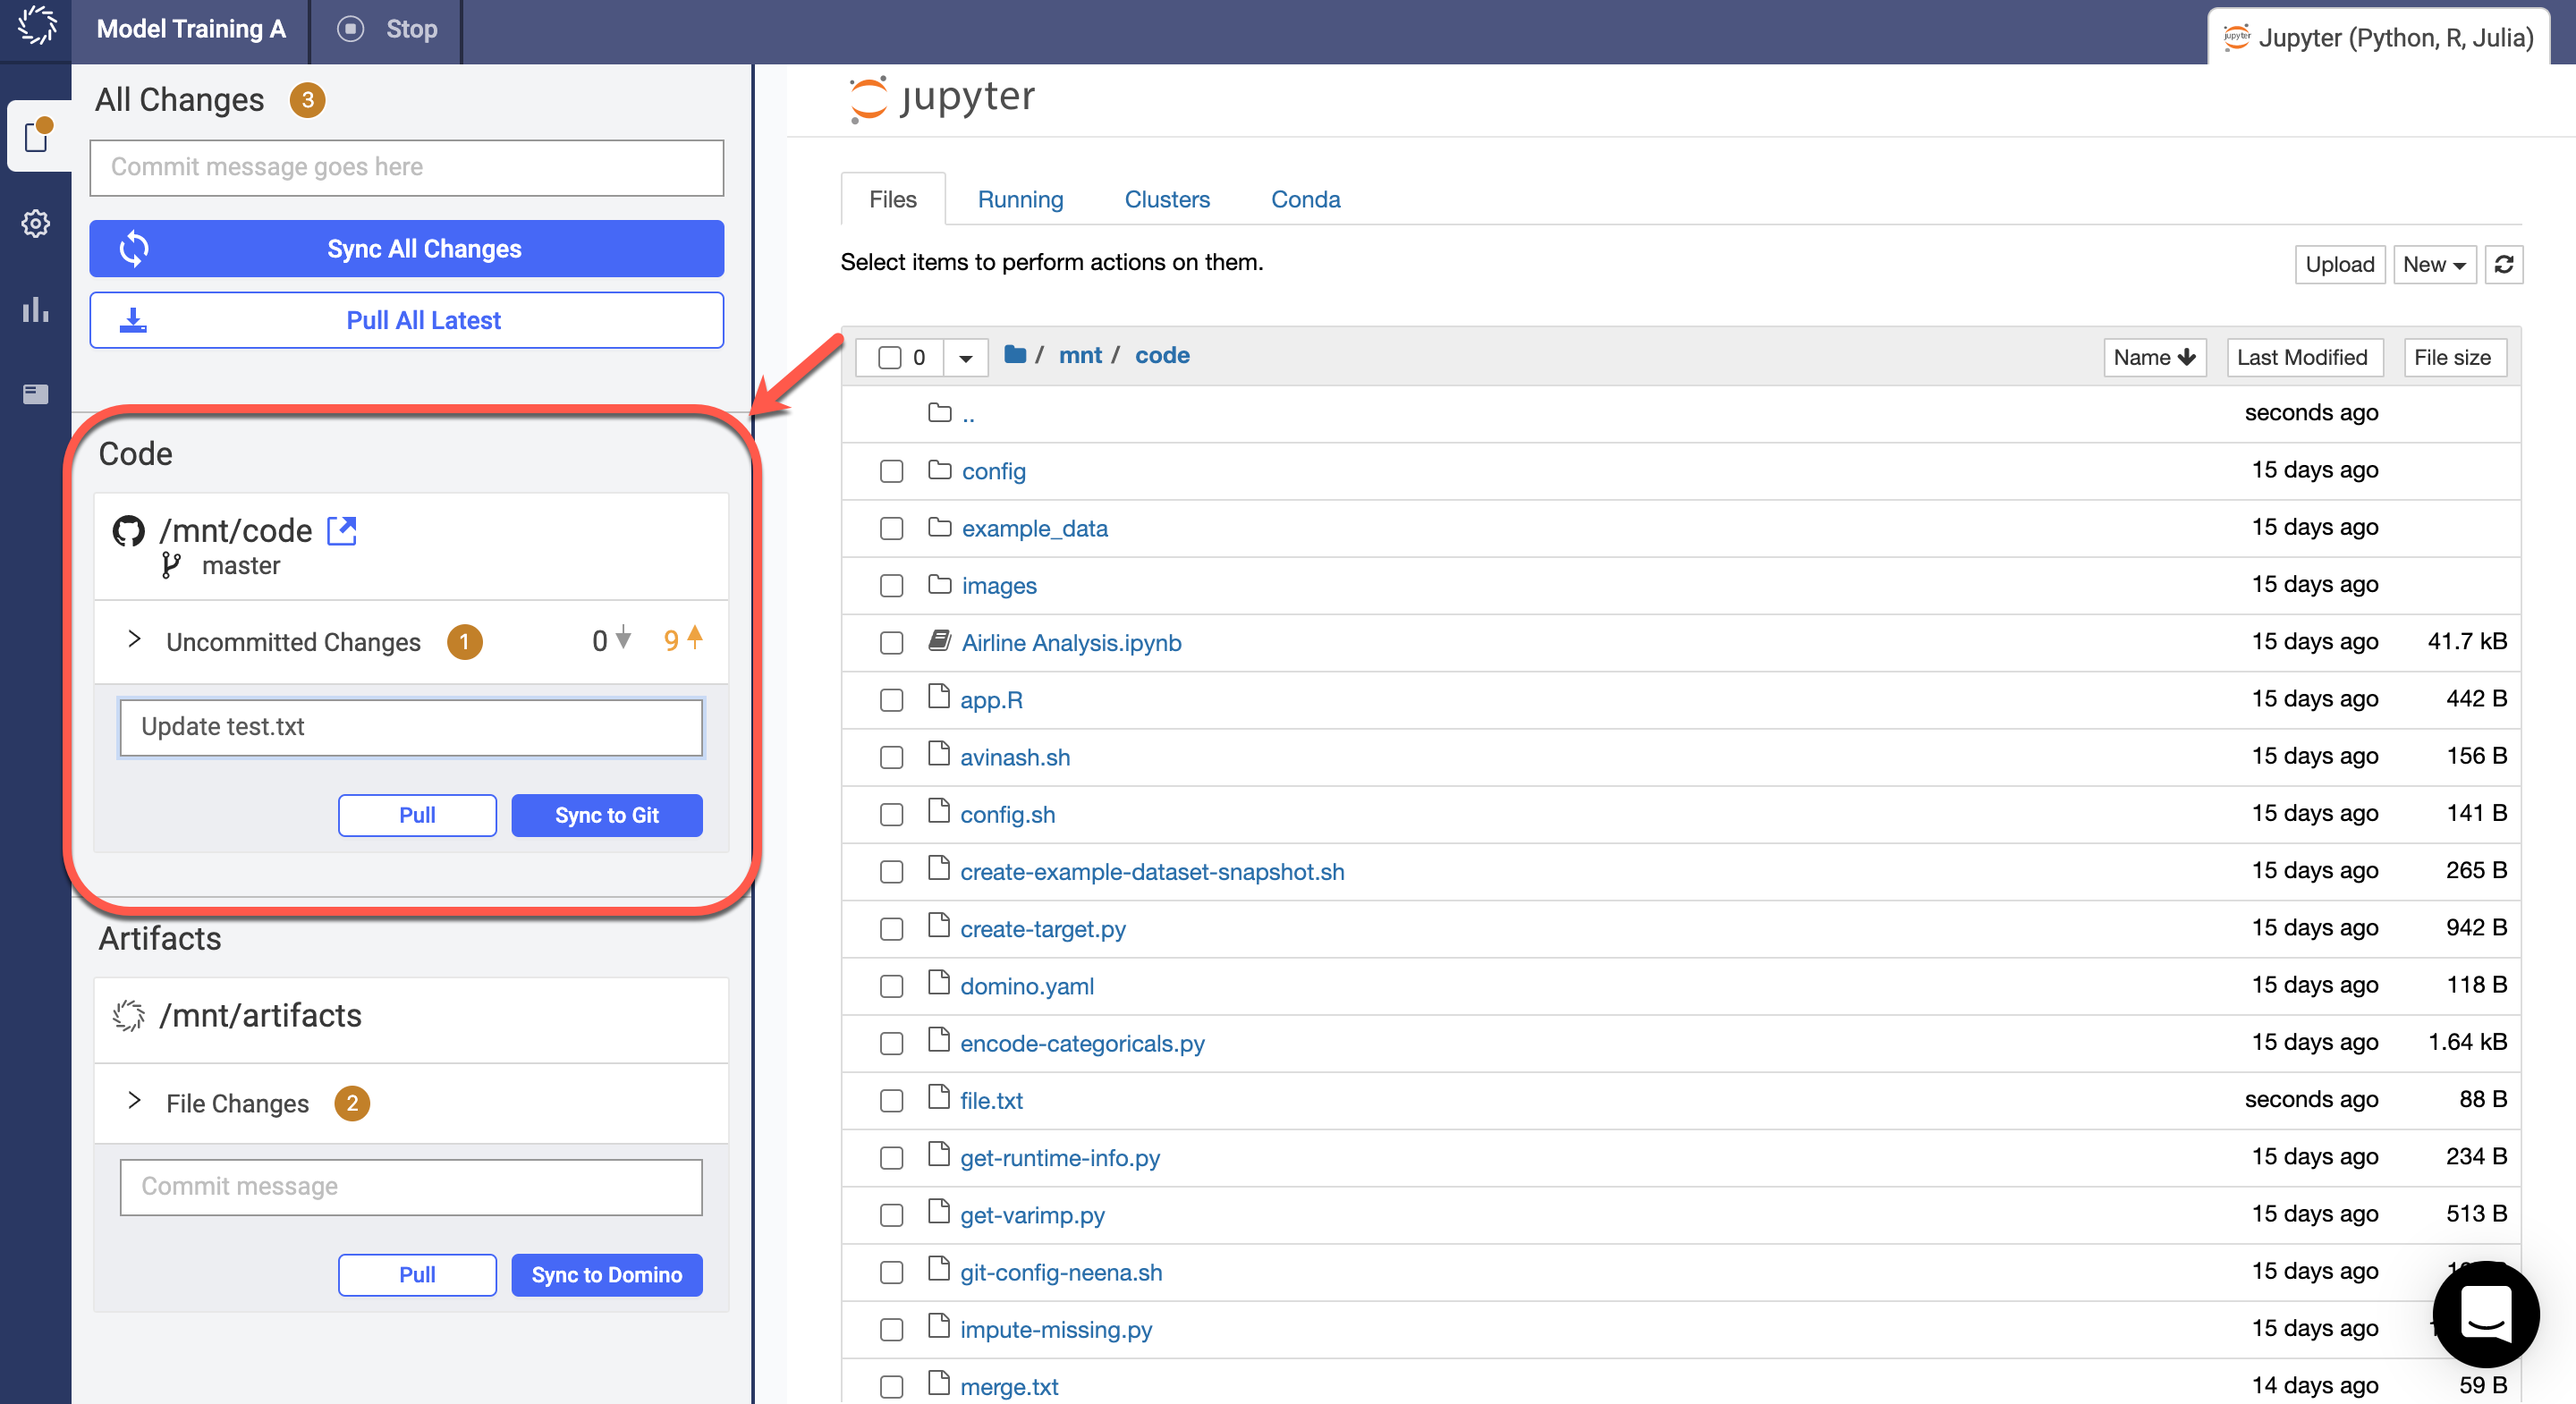
If you prefer a user interface, or you do not have much experience using a terminal, you can use your Git service provider’s user interface (such as GitHub) with the actions in a Domino workspace’s navigation pane such as Sync to Git, Sync to Domino, and Pull.
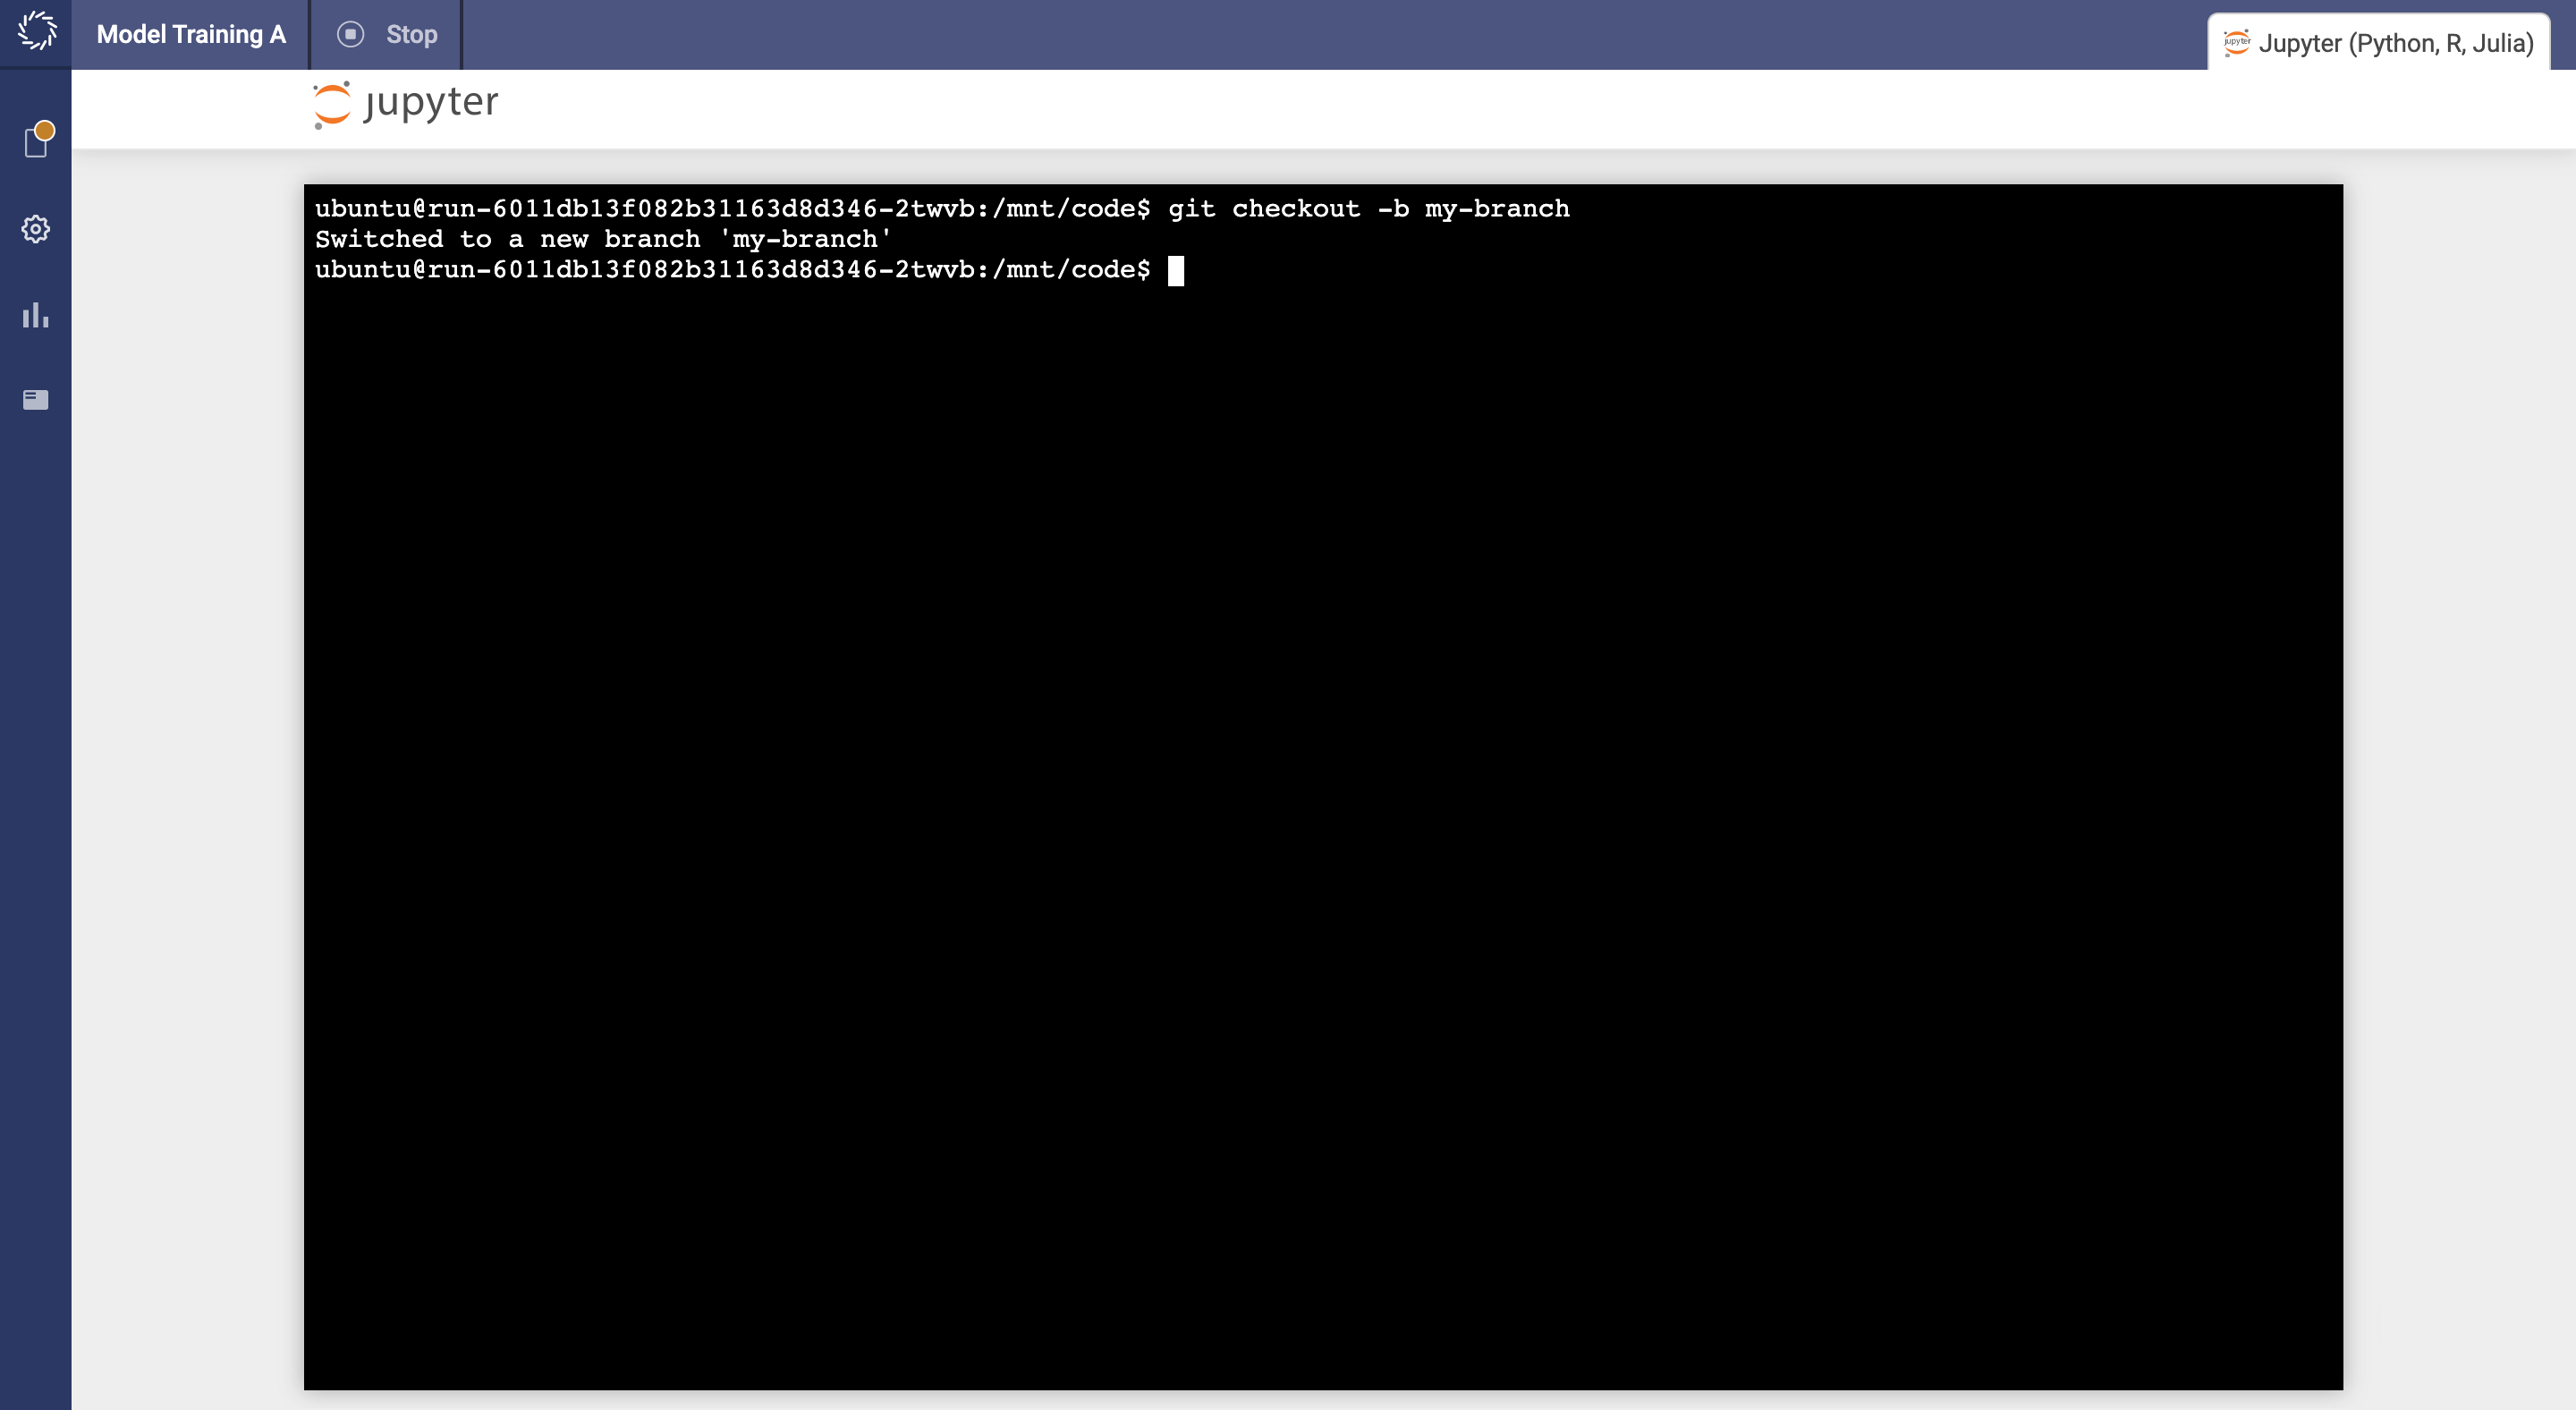
Start a terminal in your workspace and use Git just like you would in a local environment. See the Git cheatsheet for common workflows.
Many IDEs integrate with Git or have plugins or extensions for Git.
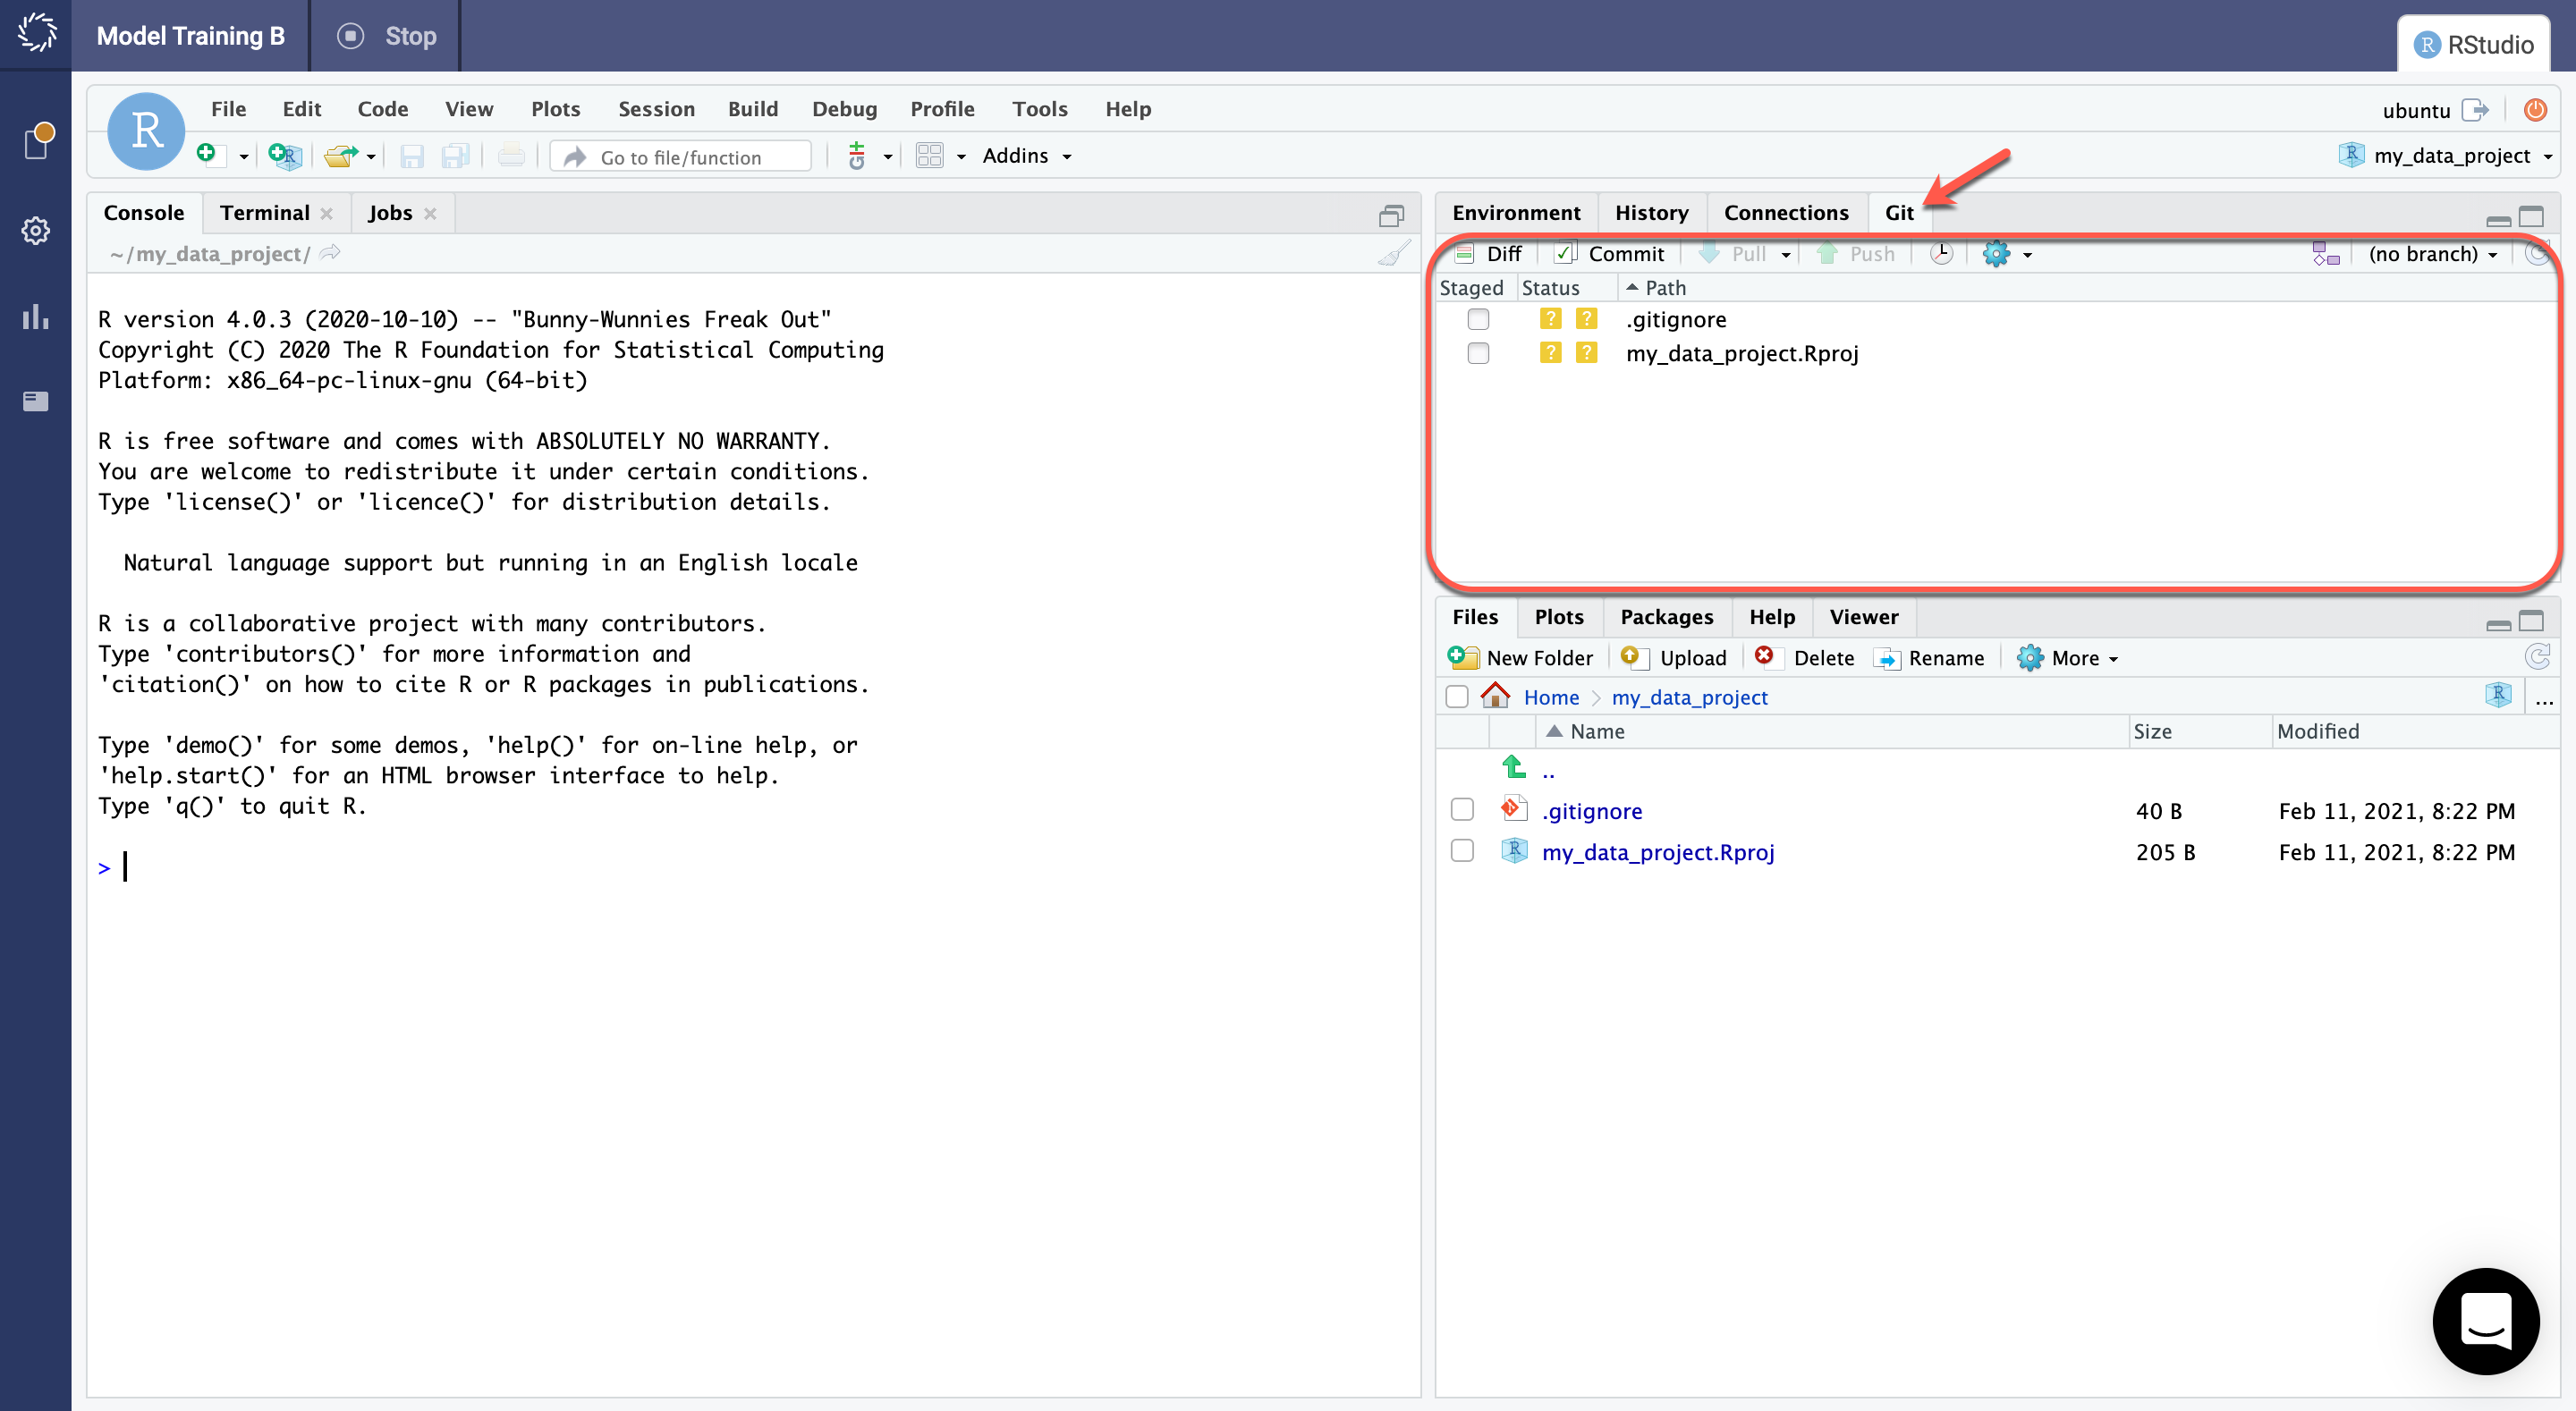
Domino’s Git-based projects fully support these features. You can use them to interact with Git in Domino. See the following resources for information about how to use Git with your IDE:
-
Jupyter – How to version control Jupyter Notebooks.
-
RStudio – Managing - Part 2 (GitHub and RStudio).
-
VS Code – Using version control in VS Code.