Domino Environments (or Compute Environments) are central to streamlining processes across Projects and teams. Domino manages Environments in a way that is unique to the MLOps, generative AI, and data science lifecycles.
Environments are an abstraction of a Docker image. All units of execution in Domino (Workspaces, Runs, Apps, Models, etc.) create an isolated Docker container based on an Environment you define. This facilitates experimentation and customization by analytical professionals within a self-contained space that is versioned, shareable, deployable, and discoverable. Much of the reproducibility and collaboration of Domino relies on the core features found in Domino Environments.
You can create Environments, use Environments provided by Domino, or edit existing Environments. Examples of when you might create or modify an Environment are when:
-
You must install a package for Python, R, Octave, or some other software dependency.
-
You want to cache a package or library so that it’s immediately available when you start a run.
-
You manage an organization and want to create a default Environment for all projects.
Domino’s Standard Compute Environments are the Domino Standard Environment (DSE) and Domino Minimal Environment (DME). Domino Standard Environments are available with standard sets of libraries and packages. The DME has fewer packages and is lighter weight. Domino also has Cluster Environments that work like a DSE, but support specific types of clusters with cluster-related tools. These are smaller, simpler Environments and are only suitable for use in the worker nodes of the cluster. DSEs cannot be used for worker nodes in a cluster.
-
In the navigation pane of the Lab, click Environments.
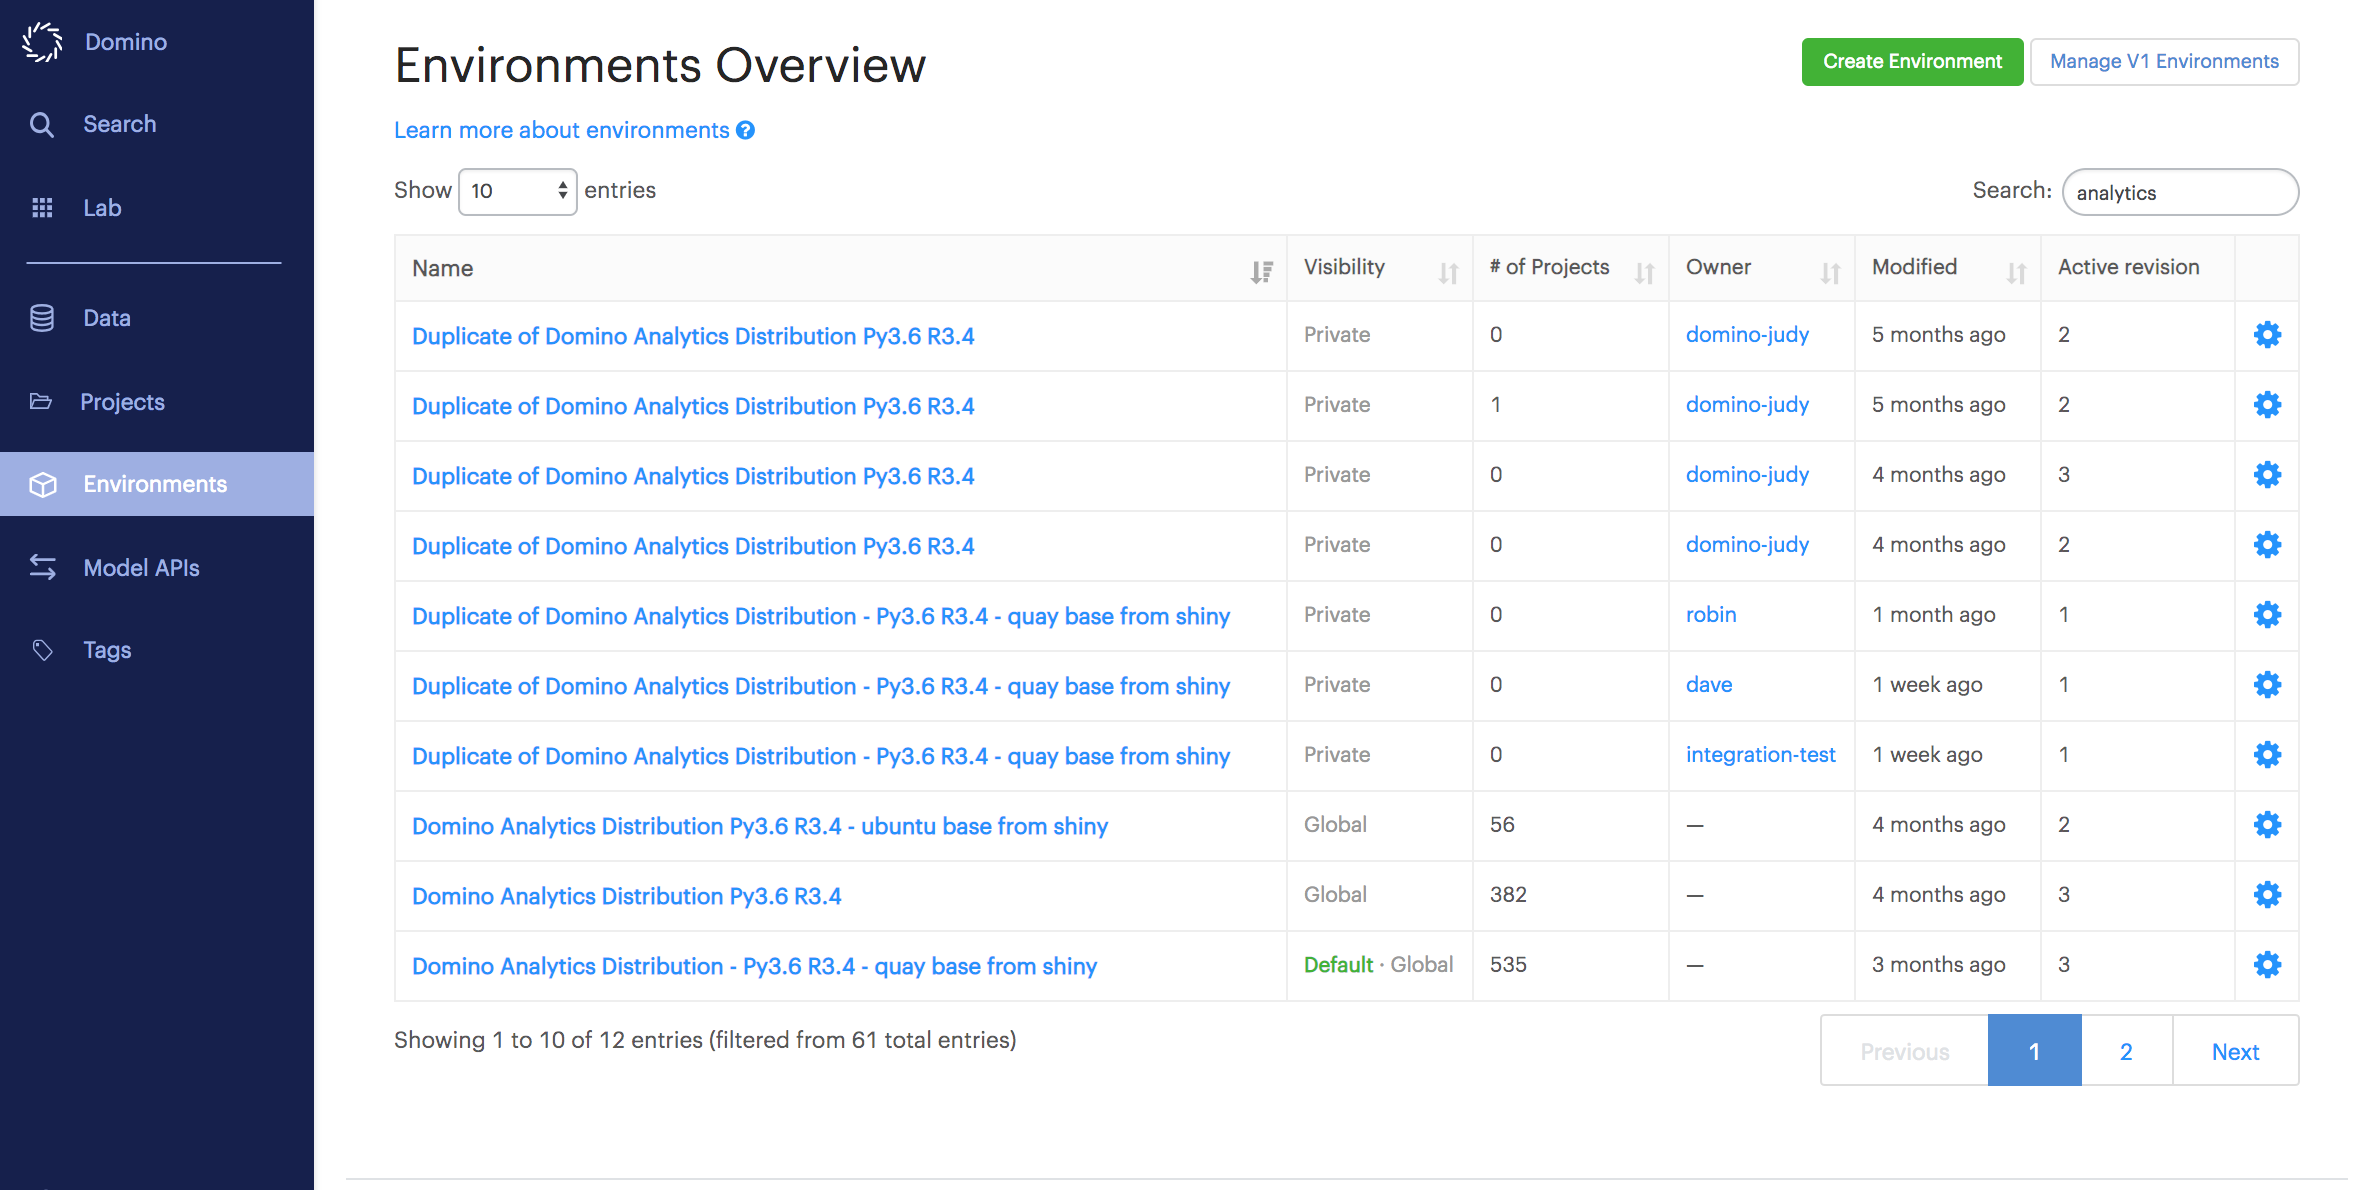
In the table, you can see:
-
Your deployment’s global Environments.
-
Environments used by Projects in which you are a collaborator.
-
Environments shared with organizations to which you belong.
-
-
Click an Environment to see its details.
- Overview tab
-
The Overview tab lists all metadata about your Environment. Click Edit Definition to make changes. After every save, your Environment’s revision number increments by one, and your Domino deployment rebuilds the Environment and pushes it to the local Docker registry.
- Revisions tab
-
Each time you edit an Environment, you create a new revision. The latest successfully built revision becomes Active by default. New workspaces will launch with this Active Environment revision. The Revisions tab lists all revisions of your compute Environment, along with each revision’s build status, timestamp, and docker image URI. Click the three vertical dots to reveal additional options, such as viewing build logs or canceling builds.
- Projects and Models tabs
-
Projects and Models are listed on their own tabs after they have been assigned an Environment.